
| Software version | 1.5.2 |
| Operating System | Debian 7 |
| Website | Puppet Website |
Introduction
PuppetDB^1 allows you to retrieve data collected by Puppet such as facts and to use exported resources among other things. This data can then be used by other programs, such as the dashboard, or your own tools through an API. You can install the PuppetDB server on your PuppetMaster or on a separate server.^2
Today it is possible to use 2 backends to store this data:
- HSQLDB: in-memory database, with quite a few limitations including the 100 nodes maximum, but extremely fast (as it's loaded in RAM)
- PostgreSQL: classic database, with less performance (on disk), but with more flexibility and a greater possibility of extension over time (more than 100 Puppet nodes).
We will proceed with the PostgreSQL-based solution.
If you want more information, check out the different bottlenecks. In summary: if you have more than 100 clients, you'll need a PostgreSQL database, increase your JVM, and increase the number of CPUs/cores.
Installation
PuppetDB
Let's start by setting up what we need to install PuppetDB:
And then update:
Then you need to have puppet installed on the same machine where PuppetDB will be installed.
Warning
PuppetDB cannot function without the puppet client!
It doesn't matter whether it's the same machine as the master or not. For simplicity, we'll install it on the Puppet Master.
PostgreSQL
Since we plan to have more than 100 clients (or even if it's less, we don't want to change the configuration in the future), we'll install PostgreSQL:
Terminus
On the Puppet Master server, install this package:
Configuration
PostgreSQL
We'll create a user and a database:
PuppetDB
First, configure the database information:
Here we define the database connection properties, as well as the credentials we created earlier.
Now let's configure the number of threads:
Adjust the number of threads to your processor count divided by 2.
Then, we tackle the Jetty configuration:
For the host, add the interface that will listen on ports 8080 and 8081. This notably allows the dashboard to connect to it.
Warning
If possible and as a security measure, leave everything on localhost. Obviously, Puppet Master must be on this same machine if host and host_ssl are set to localhost
Then restart PuppetDB:
After a few seconds/minutes, you should be able to connect to port 8081 (ssl) or 8080 (non-ssl) (http://
Puppet Master
On the master, you need to modify its configuration:
Warning
Remove the thin_storeconfigs and async_storeconfigs lines if you are using them, or set them to False
Then we'll set up a file for Puppet's configuration to tell it how to connect to PuppetDB:
And finally, a file to define the location of facts:
That's it, your Puppet server now has a working PuppetDB backend! :-)
FAQ
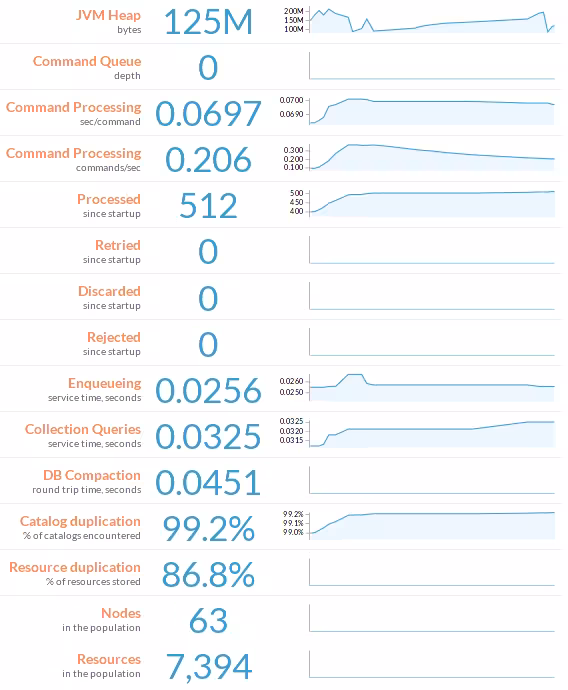
I have OutOfMemoryError errors in my logs and PuppetDB responds slowly
To confirm that the problem is indeed due to insufficient memory, check that the file /var/log/puppetdb/puppetdb-oom.hprof exists, and make sure the content mentions OOM.
You'll need to increase the Java Heap size (Xmx value) of your PuppetDB which requires more RAM. Increase this value:
For an idea of the value to set (where n represents the number of nodes):
128M + (1M * n)