Selenium: Task Automation for Web Environments
![]()
| Software version | 1.9.0 |
| Operating System | Debian 7 |
| Website | Selenium Website |
| Last Update | 19/12/2012 |
Introduction
Selenium is a development environment designed for creating automated tests for web applications. It consists of an IDE used to develop tests, called Selenium IDE.
Selenium IDE
It’s actually a Firefox plugin, available for free. It allows you to easily record one or more actions in order to replay them later. It records everything the user enters in text fields, all clicks, navigation, etc… And classifies them into tests/test suites to reproduce exactly the requested actions.
Installing the plugin
The installation of this plugin is done simply from the Mozilla add-ons center. For better ergonomics, it can be coupled with a “button” plugin that will interface it in the main Firefox window, giving easier and faster access to the IDE’s features.

Plugin interface
The plugin has a simple interface, which is obtained by clicking on our magnificent button.
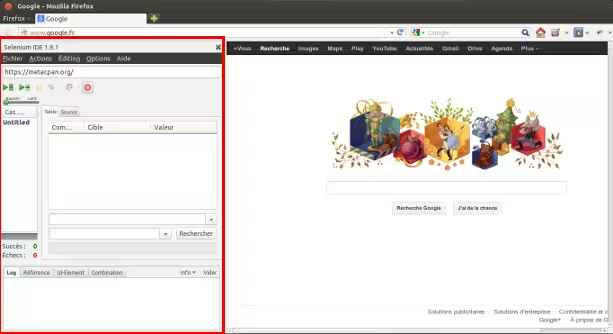
It consists of a toolbar for creating/editing/saving tests, a log window to see them running in real time, a test case view, a “Table” view where you can see the actions that will take place, a search bar and a nice recording button.
Using the plugin
Recording a test suite
By default, when the IDE starts, recording begins. The test in which actions are recorded is then called “Untitled”. We can see in the screenshot below that it records each action, such as when you click on the Images link in Google after starting it.
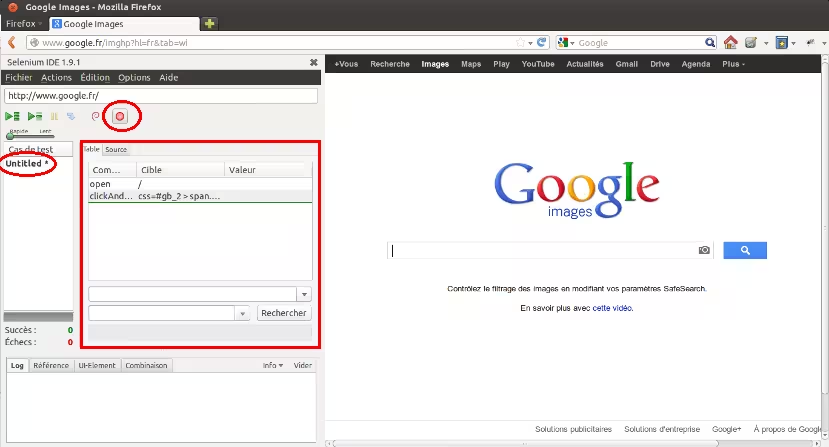
The actions are located in the “Table” view. By right-clicking on Untitled, you can rename it. Once the recording is finished, simply click again on the recording signal to stop it: your test is done! In the File menu, you can choose “New Test” and start again. Finally, once all your tests are completed, you can save them as a “Test Suite” in the File menu.
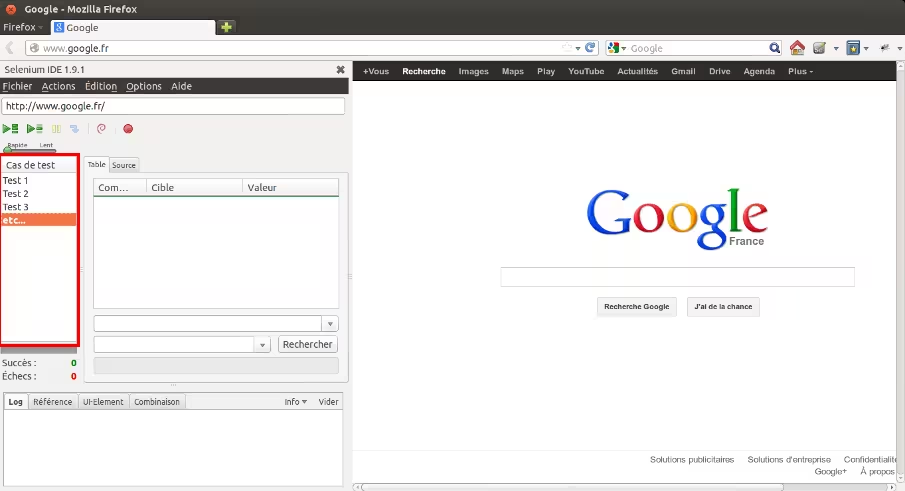
Playing a test suite
To play a test suite, simply open it with the Selenium IDE via the File menu. The test suite then appears in the Test Case view.
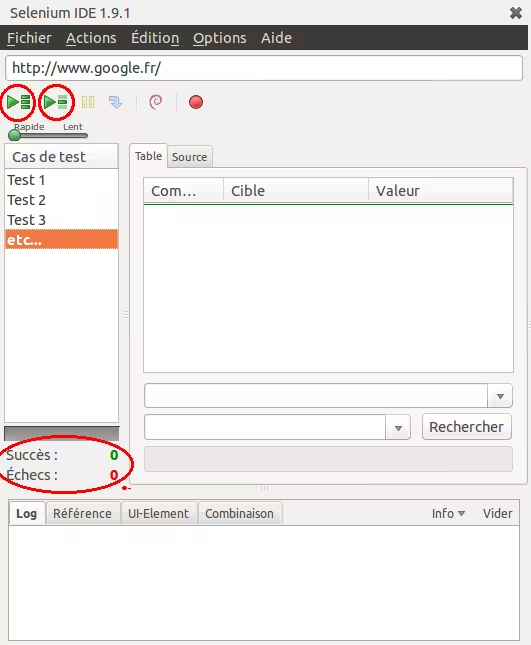
To launch it, simply click on the first test and launch via the grouped launch button (left) or click on the desired test and launch it individually (right button). You will be able to see the results in the dedicated area.
Last updated 19 Dec 2012, 16:04 +0200.