NAXSI: Integrate a WAF for Nginx
![]()
| Software version | 0.50 |
| Operating System | Debian 7 |
| Website | NAXSI Website |
| Last Update | 10/04/2014 |
| Others | Dotdeb |
Introduction
NAXSI1 means Nginx Anti Xss & Sql Injection.
Technically, it is a third party nginx module, available as a package for many UNIX-like platforms. This module, by default, reads a small subset of simple rules (naxsi_core.rules) containing 99% of known patterns involved in websites vulnerabilities. For example, ‘<’, ‘|’ or ‘drop’ are not supposed to be part of a URI.
Being very simple, those patterns may match legitimate queries, it is Naxsi’s administrator duty to add specific rules that will whitelist those legitimate behaviors. The administrator can either add whitelists manually by analyzing nginx’s error log, or (recommended) start the project by an intensive auto-learning phase that will automatically generate whitelisting rules regarding website’s behavior.
In short, Naxsi behaves like a DROP-by-default firewall, the only job needed is to add required ACCEPT rules for the target website to work properly.
Installation
To install NAXSI:
aptitude install nginx-naxsi python-twisted python-mysqldb nginx-naxsi-ui
Configuration
There are several types of installation and mode. You may for example want:
- Integrate NAXSI as a frontal proxy
- Integrate NAXSI directly on your current Nginx web server
Global configuration
If you want to enable NAXSI module on your Nginx, simply uncomment this line:
  [...]
        ##
        # nginx-naxsi config
        ##
        # Uncomment it if you installed nginx-naxsi
        ##

        include /etc/nginx/naxsi_core.rules;
[...]
Here is the configuration (/etc/nginx/naxsi.rules):
  # Sample rules file for default vhost.

#LearningMode;
SecRulesEnabled;
#SecRulesDisabled;
DeniedUrl "/RequestDenied";

## check rules
CheckRule "$SQL >= 8" BLOCK;
CheckRule "$RFI >= 8" BLOCK;
CheckRule "$TRAVERSAL >= 4" BLOCK;
CheckRule "$EVADE >= 4" BLOCK;
CheckRule "$XSS >= 8" BLOCK;
- LearningMode: this is the learning mode. For a first step, do not activate it
- SecRulesEnabled: this will load default rules
- DeniedUrl: where blocked requests should be send (generally used for learning mode)
With proxying
If you don’t want to touch to your current setup (Apache for example), you can add Nginx as a reverse proxy and add Naxsi with it:
  server {
        listen 80 default_server;
        listen [::]:80 default_server ipv6only=on;

        root /usr/share/nginx/html;
        index index.php;

        # Make site accessible from http://localhost/
        server_name localhost;

        location / {
                proxy_pass        http://localhost:8080/;
                proxy_set_header  Host $http_host;
                include           /etc/nginx/naxsi.rules;
        }

        # Only for nginx-naxsi used with nginx-naxsi-ui : process denied requests
        location /RequestDenied {
                #proxy_pass http://127.0.0.1:8080;
                return 500;
        }
}
Now restart Nginx!
Without proxying
If you want to install NAXSI directly on your current Nginx installation, here are the
  server {
        listen 80 default_server;
        listen [::]:80 default_server ipv6only=on;

        root /usr/share/nginx/html;
        index index.php;

        # Make site accessible from http://localhost/
        server_name localhost;

        location / {
                try_files $uri $uri/ =404;
                include /etc/nginx/naxsi.rules;
        }
        location ~ \.php$ {
                fastcgi_index  index.php;
                fastcgi_pass   unix:/var/run/php5-fpm.sock;
                fastcgi_param  SCRIPT_FILENAME  $document_root$fastcgi_script_name;
                include fastcgi_params;
        }

        # Only for nginx-naxsi used with nginx-naxsi-ui : process denied requests
        location /RequestDenied {
                #proxy_pass http://127.0.0.1:8080;
                return 500;
        }
}
Now restart Nginx!
Fail2ban integration
You can mix to fail2ban to definitively block IPs for attackers. How to do it? First install fail2ban:
aptitude install fail2ban
Then add this NAXSI filter:
  [INCLUDES]
before = common.conf
[Definition]
failregex = NAXSI_FMT: ip=<HOST>
ignoreregex =
When it will find “NAXSI_FMT: ip=” followed by an IP address, it will inform fail2ban daemon that this filter rule match.
And add a section within /etc/fail2ban/jail.conf with:
  [nginx-naxsi]
enabled = true
port = http,https
filter = nginx-naxsi
logpath = /var/log/nginx/*error.log
maxretry = 3
It will ask to fail2ban to watch at the Nginx errors logs. Each time the filter will match, it will increment a number since it reaches the maximum. Then fail2ban will ask to iptables to block the IP source.
Test NAXSI
And try to go to your URL website in adding “?a=%3C” (ex: http://www.deimos.fr/?a=%3C). You should see something like this in your logs:
2014/04/04 20:13:26 [error] 4256#0: *7 NAXSI_FMT: ip=192.168.0.157&server=192.168.0.84&uri=/<>&learning=0&total_processed=47&total_blocked=1&zone0=URL&id0=1302&var_name0=, client: 192.168.0.157, server: localhost, request: "GET /%3C%3E HTTP/1.1", host: "192.168.0.84"
You can see “NAXSI_FMT” which indicates that NAXSI has correctly blocked it!
Reporting
You can generate reporting by installing nx_util:
  aptitude install git python-geoip
git clone https://github.com/nbs-system/naxsi.git
cd naxsi/nx_util/
python setup.py install
You’re now ready to generate the report from error logs:
/usr/local/bin/nx_util.py -c /usr/local/etc/nx_util.conf -v3 -l /var/log/nginx/*error.log -H /usr/share/nginx/html/naxsi.html
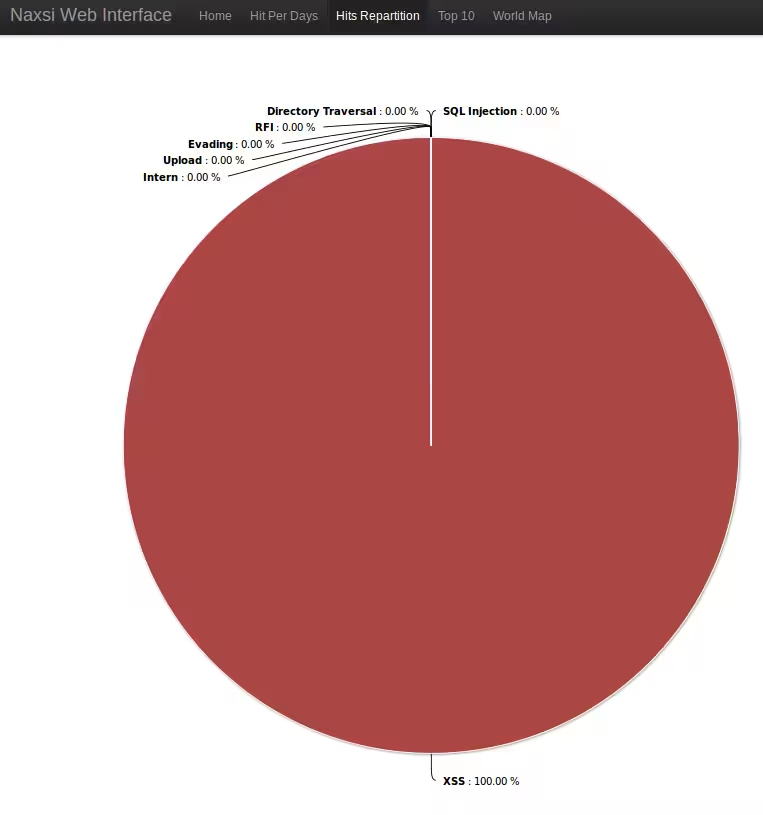
And if you look at the html result:
References
Last updated 10 Apr 2014, 13:26 CEST.